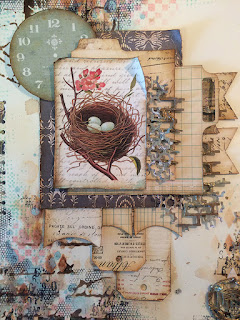
Lots of layers and lots of dimension, and texture, in soft colors.
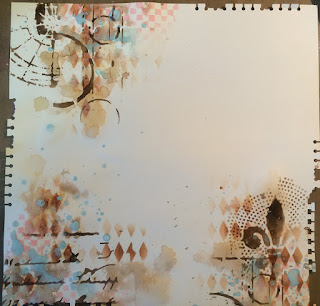
I started with blank vanilla sheet of cardstock, punched the edges with a border punch, and ripped it up a bit.
I added some texture with stencils, the pink checker is gelatos mixed with water applied with a sponge. Next i added harlequin texture with two distress ink, vintage photo, and tea dye.
Added more texture by mixing teal gelatos with water and splattering. Next i added some text and shapes with walnut distress ink.
Final step for the background was adding some stamping with black and teal archival ink. At this point I kind of wanted to not add anything else i was so happy with background. But that's happens i spent all this time creating the background so i can cover it up. I tell myself its worth it plus is fun.
For this project i used brick, vines and postcard chipboard. I mixed mini stones with crackle paste and applied to chipboard with a palette knife. I painted with a combination of alchemy paint.
Here is a few of the layering components i used. Some are printed ephemera that is fuzzy cut out; I really enjoy fuzzy cutting, I know its weird but i find it very relaxing. The other components are cut with the silhouette and pattern paper.
I started layering my components together. I like to layer the pieces together first then tuck in my paper and chipboard texture elements. I also don't glue edges done, just in the center so edges still curve, gives the layout some movement. (thats what i think anyways)
Here are some close ups.
I added some thread and splattered the layout with watered down white acrylic paint.
Keep on keeping on
Followers- 42


Oh, my, Glenda! I could sit and stare at this for hours! I love your gorgeous background, but oh, those textured layers just steal the show! I am squealing with delight over those birdies in their nest and I love how you have finished your chippies! Well done and thank you for Celebrating Your Style with us at Anything But Cute. Hugs Sara Emily DT
ReplyDelete