home

Wednesday, 29 July 2015

Check it OUT!!!

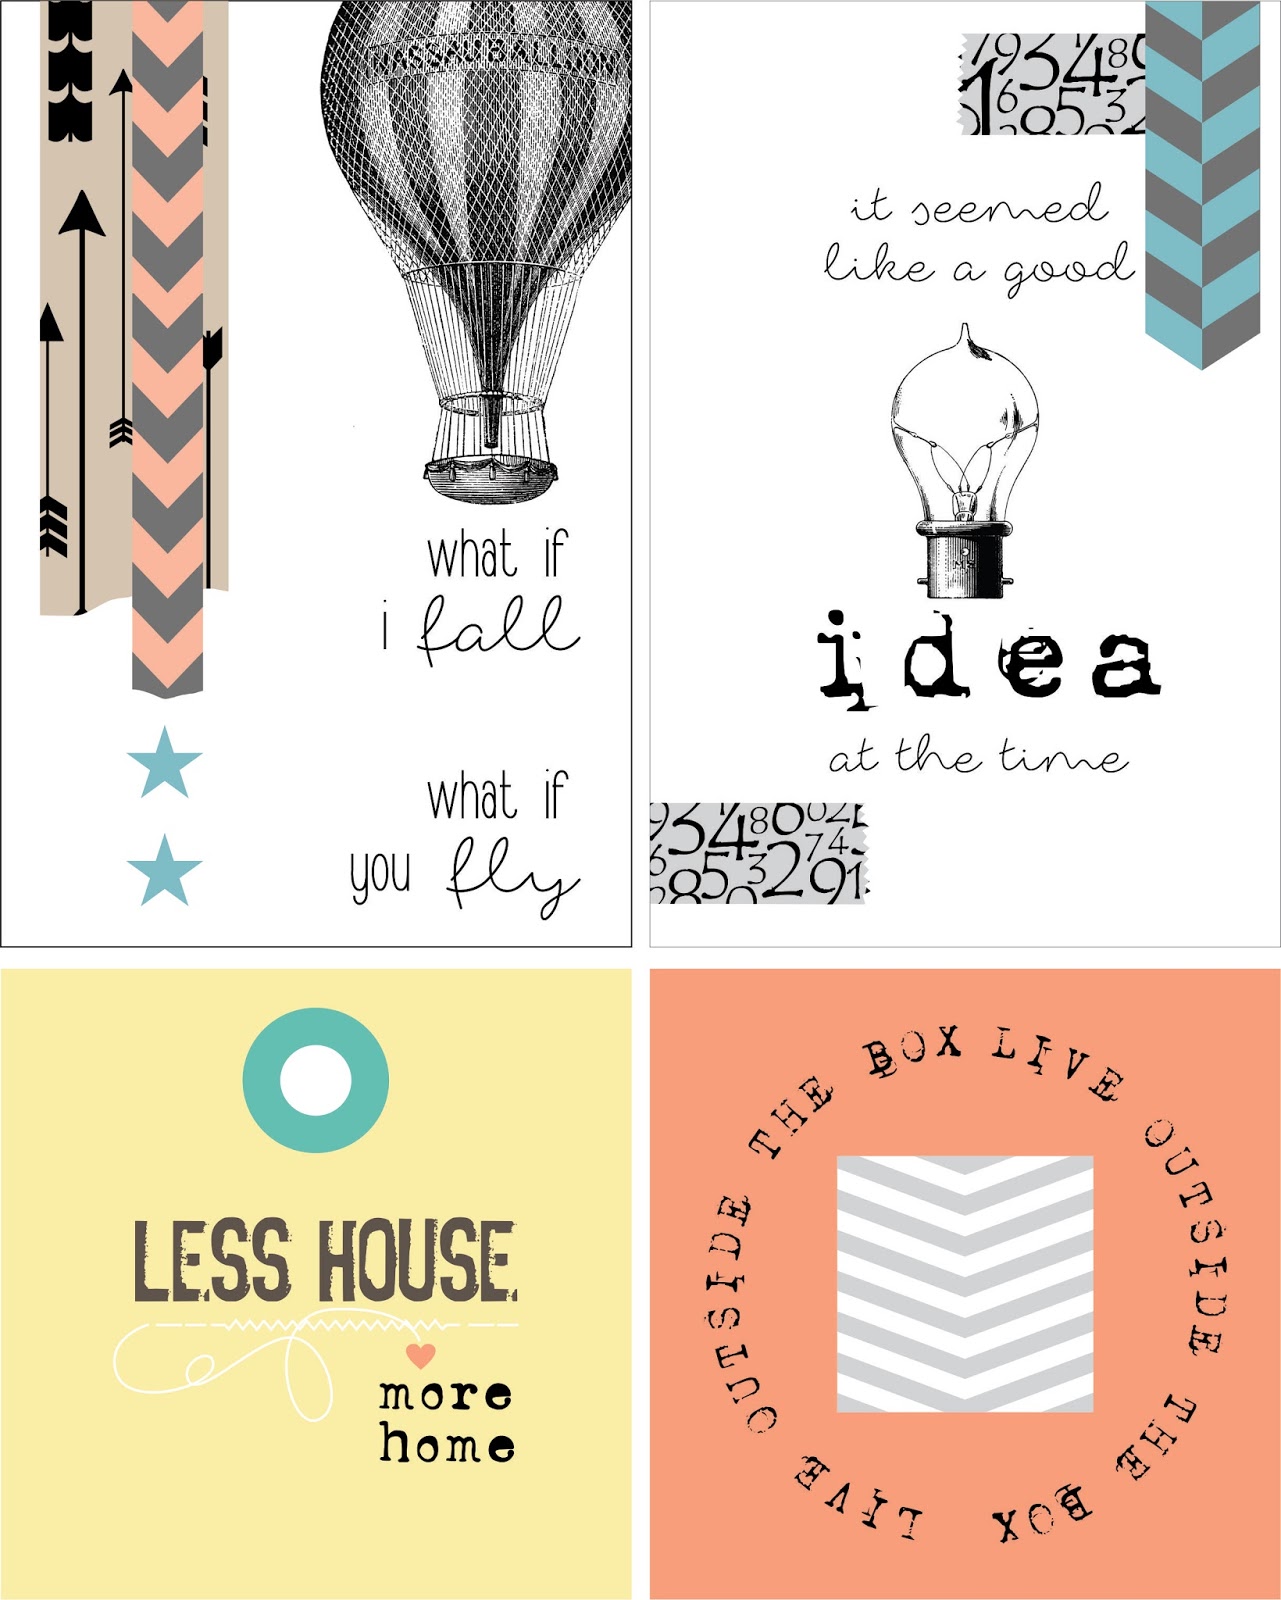
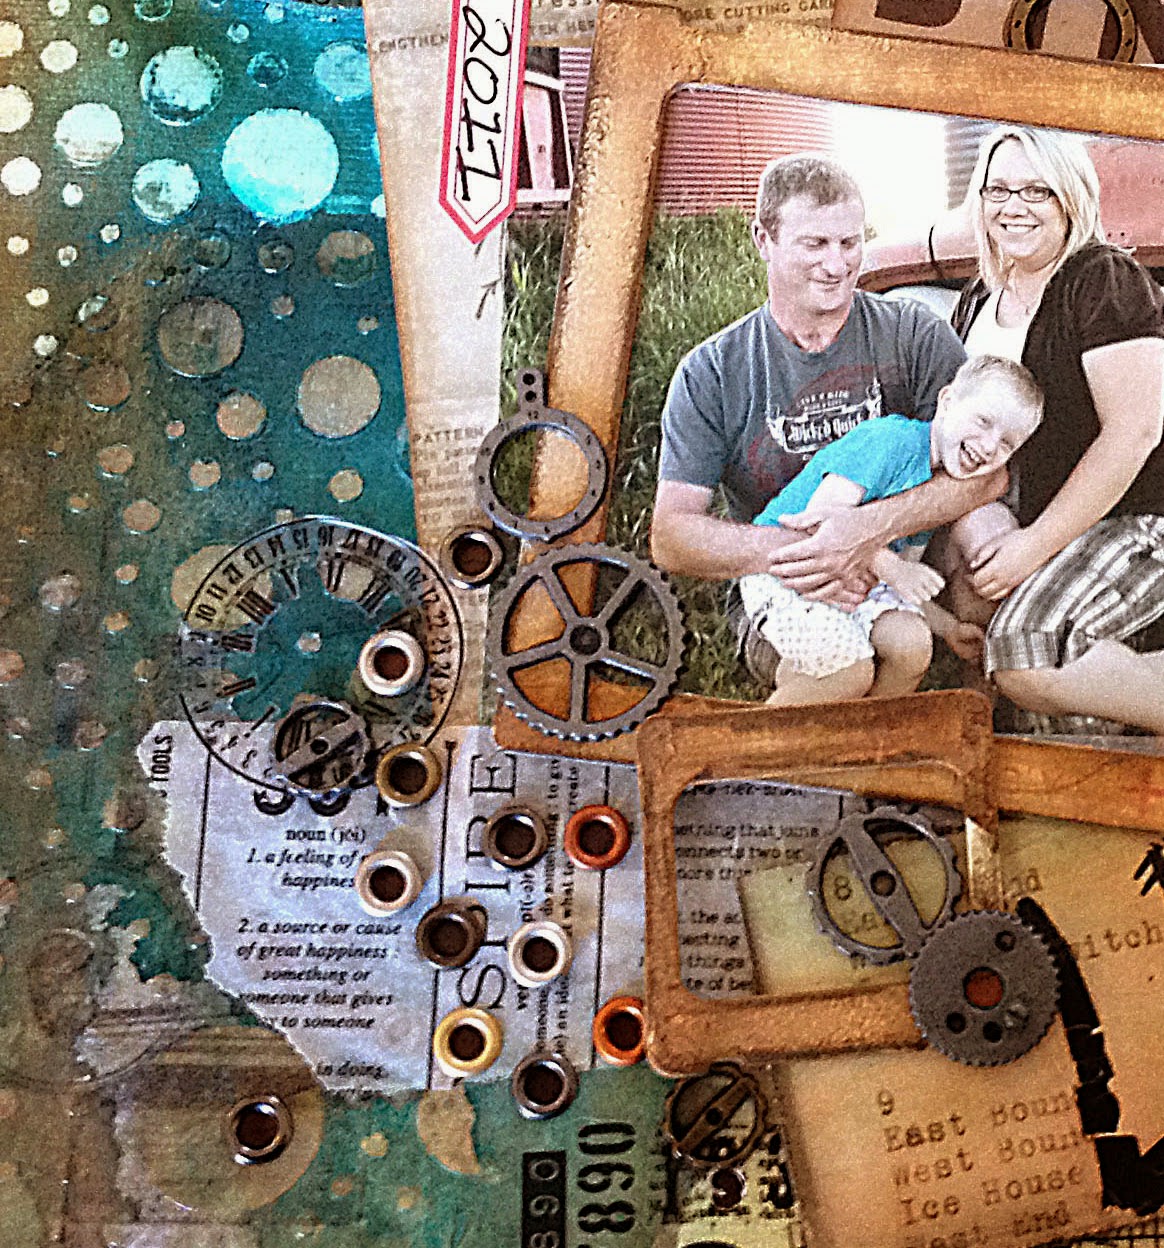
I have finished creating my first set of scrapbook pocket cards and have them up for sale on my etsy store.  I have called this set everyday life perfect for  family friends, and life's special moments.  The set includes journaling cards, pattern cards, and quote cards in 4"x6", 3"x4", 2"x2" and comes in 3 color combos.

Everyday Life- Lemonade $7.50 for digital file, includes 65 cards in varies sizes


Everyday Life- Morning Dew $7.50 for digital file, includes 65 cards in varies sizes


Everyday Life- Ocean Floor $7.50 for digital file, includes 65 cards in varies sizes


More to come, working on a travel pack and quirky/ artsy pack.
HAPPY SCRAPBOOKING!!

Monday, 8 June 2015

Cluttered!

I haven't posted in over a month, not because i haven't been working on anything but because I have been working on everything.  I have several projected started but nothing finished, my creative brain took over and i lost focus.  I need to stop starting new projects and just finish one.... that will never happen just ask the closet full of unfinished projects.  Here is a sneek peaks of my cluttered mind.

Project 1- a painting, which i love and mostly finished just needs the sides painted.  (pic of my kid) 

turned out fantastic, and i actually like it and am willing to hang in my house.  Usually i hate everything i create either because i can see the mistakes or just plain tried of looking at it.  I love this so much it inspired me to start another one, which is another uncompleted project at the moment.  It is a huge painting and when i paint i like to have the whole day uninterrupted otherwise i pull everything out and its time to put it all back.


Project 2- steampunk phone
 i created this steampunk phone which again i love (how unusual to have two projects in a row i am happy with)  It looks exactly how my brain was picturing it.  Everything came together quickly and even though everything is painted the same color so many details.....  there is a plan for an album to go inside but that was put on hold by


Project 3- file folder albums
not loving this!  not sure why this one hurts my brain, i think it is all the cutting and measuring of paper.  I know seems silly paper cutting hurts my brain but making a dimensional phone from chipboard doesn't.

This will be a kit, you will get a box/album (not sure yet) with 4 file folder albums in them. They will make great albums for school sports or trip, keepsake from a special event etc...

But this project was stalled by....

Project 4- creating new chipboard designs.

I recently found a local business who will cut my designs out of chipboard, which is fantastic so now i can create kits with custom chipboard.  It can be exactly what i want and the size.  This opens so many possibilities and this is when my brain really exploded.  I started thinking about custom chipboard which lead to cutting some using my silhouette, which lead to thinking about what else my silhouette could do and materials i could use with it.  And here we are at ...


Project 5- creating journaling cards for pocket scrapbooking

I designed a set of journaling cards i can use for an album i am planning which is going to be a kit and here is the really ridiculous part... it is for a trip i haven't even taken yet.  Yep that right i am working on something i have no chance of finishing til september after our family roadtrip.  Why work on this when i have 4 other half finished projects that i have all the materials for???

that my friends is an excellent question.  Hopefully this blog post will remind me to focus.


So here it is an timeline of how my brain works... i love being creative but i really need to work on the focus part.


Sunday, 19 April 2015

Lindy's Stamp Gang

April Challenge at Lindy's Stamp Gang is the following color challenge

This was a huge challenge for me- so much color, that is not blue.  Most of my layouts are mostly blue definitely not pink and purple.  So huge challenge!!!


Here is my take!  Can't say I love it but I did it-color.  Used lots of layers to create texture, paper layers, stenciling with ink, paint, markers, chipboard, and rub ons.  Part of me thinks its too busy, part of me thinks it's missing something.

I once told a friend not every page can be a masterpiece- yes a backhanded compliment and i think it applies here today.  She would enjoy telling me not every page needs to be a masterpiece.  This one is for you Jen.

Products used are industrial chic
time travel teal, and rusty lantern lime
Van Dyke Sepia moon shadow mist


Saturday, 11 April 2015

13 Arts April Challenge

I stumbled across this blog the other day and man am I sure glad i did, so much inspiration.  April challenge mood board is right in my wheelhouse.  Check it out here 13arts

 how can a person not be inspired from this mood board,  I LOVE LOVE LOVE turquoise. In fact most of my pages have some sort of blue, teal or turquoise, even my son knows this is my favorite color.

I enjoy mood boards, i have always found sketches more challenging than mood boards.  A page has a way of taking on a life of its own and ends up moving way be on the sketch.


Like always i started with creating the background, as my scrapbooking moves into more mixed mediums creating a background is my favorite part.  Today i am using Junque Gypsy by Marion Smith, this paperline is FAB!  I can not express how FAB! it is.  I added images transfers from the same paper line.  Ink around the outer edges of image transfers in peacock then in vintage photo distress ink.  Next more layering, bubbles from stencils and outlined with back and some white.  After all that was completed I wanted the image transfer pop a little more so those got outlined with white.
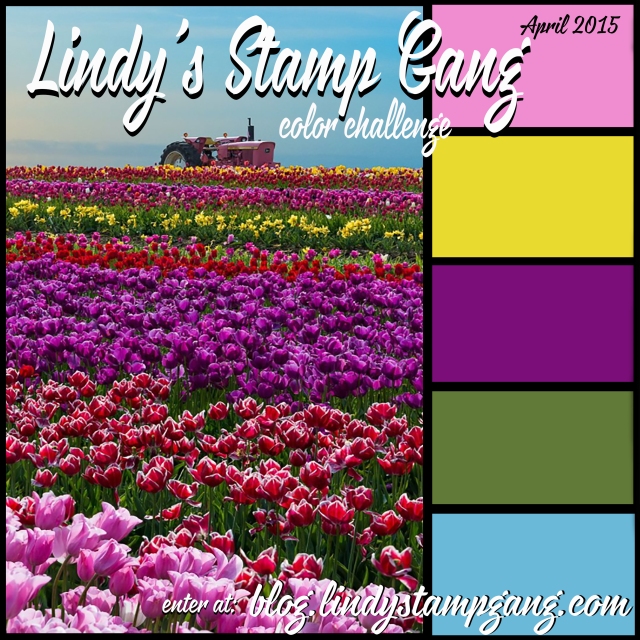


Here is the finished page, these days i have been experimenting with chipboard and gesso.  I glue the chipboard on in random positions on the page, then paint with gesso, and dry brush gesso around the chipboard.  Kind of highlighting the chipboard but blending into the page at the same time.  Try it you will understand what the heck i am talking about.  Once the gesso is dry i paint using my finger with acrylic paint, i didn't paint solid but lightly in some areas and darker in others.  The final step is to add dark brown gelato along the edges.  Picture, rubons, metal and ta da the finish page.


Close up of chipboard- love this treatment i want to use for every layout but then i worry i am stuck in a box.  A silly worry but there it is.

Enjoy.  Looking forward to May Challenge.


Monday, 6 April 2015

Scrap the Boys- April Challenge

This month the challenge at Scrap the Boys is this mood board

 which i love!  All of my favorite things, woodgrain, blue, industrial piping, and sea glass bottles.


The review.  The page started as vanilla cardstock, then i added woodgrain pattern paper that i image transferred onto the cardstock.  Spray several colors of blue and brown with Lindy magicals.  Added bubbles with transparent embossing paste and bubble stencil, then added a darker blue spray to highlight the bubbles.


I added chipboard and painted it with white gesso, and dry brushed around the chipboard. Added gelatos for color, a combination of aqua, gold and brown.


Added some additional accents like rub ons, and metal.  Then i added some shadow harlequin pattern with brown ink then sprinkled with biscotti perfect pearls.


Lightbulbs are one favorite things and seem to be included in all my layouts.


Thursday, 2 April 2015

Blue Fern Studios- April Challenge

This week i am over a Blue Fern Studios to participate in their monthly challenge.  This challenge is close to my heart since i design chipboard for them and 3 of the 5 chipboard pieces on my layout our my design.  This month challenge looks like this


and i created this
i love everything about this page, it was just one of those scrapping moment when the page and my brain worked together.  This started as an idea, i knew chipboard was a must, i knew the picture i wanted to use, i knew i wanted to blend chipboard into background and i knew i wanted to do image transfers.

I started with a vanilla piece of cardstock, and image transferred pattern paper- the harlequin pattern and the bird nest.  Add color via prima color bloom sprays and distress ink.  Then i thought needs white!  I glued on the chipboard and painted over with white gesso, dry brushed around chipboard as well to get on page.  Now too white so i added a couple blue paint coats.  I used distress paint with lots of water so it would be transparent.

this is my favorite part!!!  The chipboard now white because of the gesso was too white, so i added muted color with the new metallic gelatos. I just brought this weekend and LOVE!  Once i colored chipboard with gelatos it blended in a little more than i wanted so i doddled around the outside.

I also LOVE the empty space i have on the layout never underestimate the importance of white space (otherwise know as empty space).  Not every corner needs to have something, in fact it will make your picture stand out more if you make it the focal point.  There's my rant, anyone who has every taken a class from me knows this rant.


I designed the steampunk goggles for BFS and i am so glad she decided to use the design.  Here i cut off the one side, painted black then toned down with those FAB metallic gelatos again.  I think the rub on eye ball with the goggles is my favorite part.  I finished with laying tags, metal and rub ons in clusters around the picture in the bottom right hand corner.

Chipboard used:
Lightbulbs
Circuitry
Goggles
Notebook Edges
Tattered Diamond Bits


Monday, 30 March 2015

GEAR IT UP!- SanDee & Amelie's Steampunk Challenges


Here is the final layout, i spent the weekend at a crop here in town (Cold Lake) and i played with prima color blooms, transparent embossing paste, ranger color wash, chipboard and image transfer.

This page started as a antique white sheet of 12x12 cardstock.  I added some image transfer from the new fabulous paperlines from Marion Smith Designs- time keeper. Those would be the butterfiles, and paper in top and bottom corners.

I used a stencil with transparent embossing paste. i glued on some steampunk chipboard pieces i designed and have cut. Next i sprayed with a combination of color bloom tea stain, and teal color wash.  The color sinks into the chipboard as well and becomes part of the background.  Sanded around the outer edges and inked with vintage photo distress ink.


everything covered by the embossing paste remains it's true color.  The bubbles have that all there but not too much there effect.
I love eyelets, so i randomly punch holes and add eyelets, kept the eyelets in clusters surrounding the photo.


Gear and eyelet clusters framing the photos.

Enjoy!