home

Thursday, 16 February 2017

Goodnight Moon

I am loving my art journal lately can't get enough of it.
This month at Filigranki the challenge is an explosion of colors- fun colorful and carnival.
Since I love blue, I of course started with blue here is the mood board.


I brushed on Lindy's tainted blue teal, violaceous violet, jazzy jivin purple.  Just along center of journal page.

You can't see it that great in the picture, but I added some sparkle with Lindy's embossing powder silver moon, and turquoise.  There is a lot of shimmer and sparkle it just doesn't photograph great.  Next some white splatter with acrylic paint.

Mix modelling paste with gold acrylic paint and apply through a checker stencil.  Draw around checker pattern with charcoal pencil.

Add a bunch of rub ons.

Add all the finishing touches.  I painted a moon chipboard piece with alchemy paints- deep waters, blue-gold, and black berry.  Layer chipboard on top of a cluster of fishing line (love using fishing line my favorite embellishment right now)  Sprinkle on some champagne sparkles.


A metal cluster with gears, eyelets, spinners and a bendpiece of wire. Also added some crystal stars randomly on page.


I love hot air balloons.


Also love outlining title with black charcoal and i also like extending line past title.


Sunday, 12 February 2017

Believe in Yourself

I have been trying to work on my art journal all weekend and I finally got the time!  Over at Mixed Media World  challenge #22 is anything goes Mixed Media.  
I started with a thin coat of gesso on my journal, glued down On Time Chipboard available at my Etsy Store.  Glue down some greenery vines (cut from my silhouette), sprinkle on art stones and mini art stones around On Time chipboard. Coated with gesso on top of collage.

Painted collage with paint brush and Lindy's Merci Beaucoup Mint, and Hatter Mint, Treasure Island Aqua. Once dry lightly dusted with white acrylic paint.

Close up of colors, the face is from the book i am using.


Add some embellishments, underneath picture frame is fishing line.  Outlined around paper vines with charcoal, and added some random stamping.


Add finishing touches, lightly dusted collage with Memory Hardware- clay, added some journalling then also wrote onto layout, added some drafting lines.

Wrapped some wire in circle frame for around clock face, added some champagne sparkles along clock face.
Picture frame, I zapped the fishing line with my embossing gun and it melted it  gives it a more distressed look.  Again added some champagne sparkles around frame.


More wire action.


Exciting news I have won Mixed Media World December Challenge for my winter birds.  yahh!

Thursday, 9 February 2017

Bring on the Pink

I am not a pink fan but this month's challenge at Lindy's Stamp Gang  is this mood board but here it goes-

I used
Moon Shadow Bucket of Blood Red
Starburst Dark Chocolate Truffle
Magical Autumn Maple Crimson
Starburst Poinsettia Red Gold
Magical Tibetan Poppy Teal
Magical Shabby Turbine Teal
Magical Rusty Lantern Lime

I started with an old book with a light coat of gesso, cut various sizes of strips of paper glue onto page. Next outline around paper strips with charcoal.

Then i drew on a eye with pink eye shadow, I am missing the eyebrows in the picture you will see later.  Using a palette knife coat page with clear crackle, I didn't put on eye so the color smeared, I figured that one out the hard way.


Did some random stamping then add the color, all that wonderful crackle become visible once the color is added.  I painted the color on with a paint brush used Autumn Maple Crimson, Poinsettia Red Gold, and Bucket of Blood Red.  I colored more heavy along paper strips.  Next splatter on gold and white acrylic paint, and dark chocolate truffle starburst spray.


Mix modeling paste with Tibetan Poppy Teal, Rusty Lantern Lime, and Shabby Turbine Teal apply through a harlequin stencil.  Outline harlequin with charcoal pencil, smear with fingers.  Dry brush white acrylic paint on top of harlequin pattern.

Finishing touches- rub ons, scallop banners, fragments with images underneath, journalling.

Favorite spot!!!! Wrapped wire in a circle and tied ends around brads, love how it highlights the eyeball.  I have a thing for eyes lately not in a creepy way lol.  In the close ups you can really see the crackle in action, and all the little details to create the background.


Tuesday, 7 February 2017

The beauty of Fishing Line

Today i am working on a challenge for Retro Kraft Shop Retromania 20


I started with some grid like fibers, glued them on to a journal page with heavy gesso.  I scraped white gesso across page in center.  While the gesso was still wet sprinkle mini art stones mostly in center of page.


Next add color in center cluster, alchemy blue-gold, rose-gold, and gold. Add a large amount then spray with water to create movement, blur edges, and move around mini stones. Around the outside wipe Lindy's bronze color (not sure on color and it wasn't mine so can't double check) the color will wipe off gesso now you can visible see gesso lines.  The color soaks into the paper causing the page edges to be darker.  Add some bronze along center cluster.


I darken the outside edges more with ground expresso distress ink, stamp with texture stamps randomly around page.  Next highlight some of the grid fibers with black acrylic paint. Finally sprinkle on a little Lindy's magical shabby turbine teal spray with water move around with a paint brush and by rotating page.

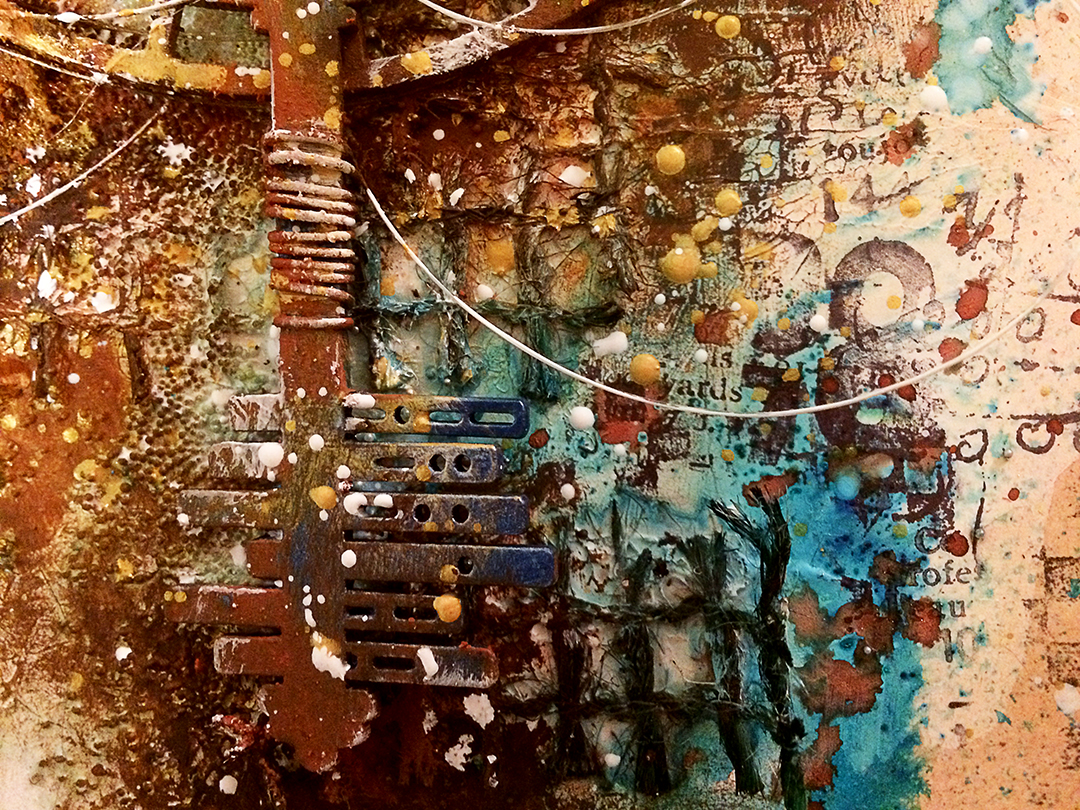
Splatter page with bronze Lindy's. Next I painted Alchemy Key  and Projector chipboard available on my Etsy Store with alchemy steampunk copper and deep waters.  Next lightly dust with white and gold acrylic paint.  I wrapped wire around the stem of the chipboard key.

Underneath projector and key is fishing line, this worked perfect.  I wanted the thread look but more sturdy, fishing line is exactly want i needed- thank you husband.  I know it is hard to see try it you will love.


Add rust paste along edges of projector and alchemy key chipboard.

Here is why the fishing line is fantastic it is sturdy enough to paint edges and hold shape, how fun is this! Love how this turned out.
Splatter with gold and white acrylic paint.


My favorite spot.

Saturday, 4 February 2017

Dream Catcher / Weaver

Today i worked on an art journal page for the January challenge at Mixed Media Place, here is the mood board
What i see- feathers, turquoise warm and cozy.


Here's me creation, there is a dream catcher in the corner i made out of metal but it is hard to see.  I wanted to highlight somehow but wasn't sure how and i didn't want to ruin the page.

I started with random sizes of strips of paper and weaved them together, glue on top of old book paper, then a thin coat of gesso on top.  Once the gesso is dry apply modeling paste through stencil.


Add the color!!!   I used the spray nozzle tip and drew color on along edges of paper strips, sprtiz with water and watch the magic.  Added some gold paint through out sprayed with water to remove blur edges.  I do not like harsh edges.  The texture created from modeling paste I paint with purple paint.  Splatter on some brown/ bronze.


Some random stamping with texture stamps, ink around outside edge of page, and I outlined paper strips with charcoal then smudged with my fingers. Fingers! your best tool


I made the dream catcher wire and crystal beads.  I twisted the into a pattern, not for the faint of heart it kind of hurt my brain.  I wish it was more symmetrical but i am not making a new one.


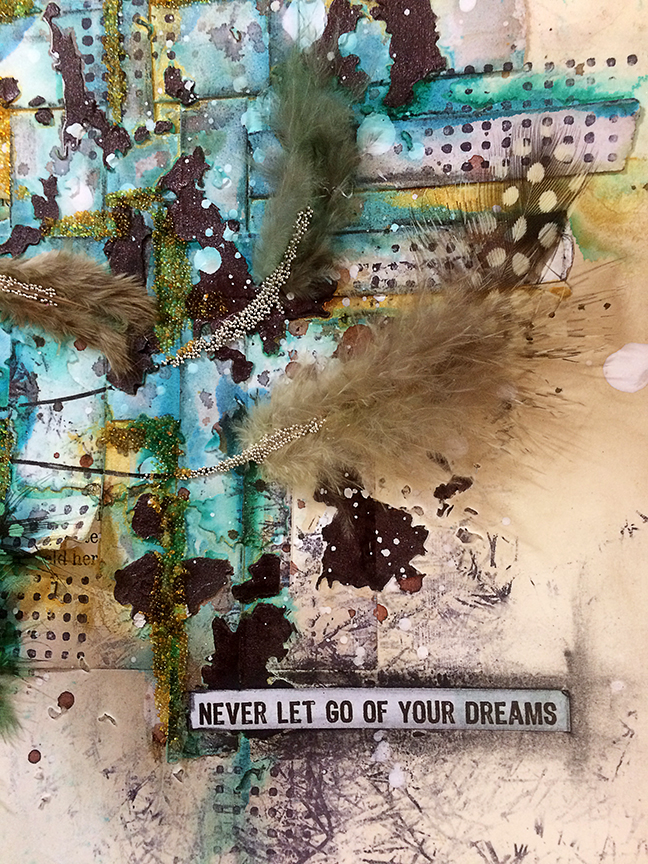
Added feathers (dollarstore) and drew "string" to connect to dream catcher center.  In the center of feather added micro beads I like how those look.


Add a title, draw and smear charcoal around outside edges.

Is anyone else's process include love the project at the beginning, then hate it and want to throw out in the middle, back to love at the end.
Why!!!!