home

Tuesday, 13 October 2015

Drop Dead Diva- Lindy's Stamp Gang

Today's challenge is from Lindy's Stamp Gang and it is super bright so that's out of my box.  In fact i had to borrow bright colors from my friend.

 I started with a blank tag added washi tape and texture with modeling paste.
 Next i added fun chunky metal pieces and texture chipboard
 Painted the whole tag with white gesso, double coated to make sure everything is covered and not streaky.
added color with sprays and magicals.  I used
magical time travel teal
magical rusty lantern time
starburst yellow rose of texas
flat fabio urban amethyst
flat fabio poppin pink

i added the blue along the bottom and the pink and purple at the top.  I used water and a paint brush to blend the colors.  I wanted to leave some white so i didn't add color to the middle.
 I colored some the metal embellishments seperately.  I really liked how the color settled in the edges around embellishments and is darker.  I left the number 8 more white with right a hint of color, makes it pop.
 For the light bulb i used the rusty lime magical and painted it on with a brush with just a little water


I kept the little touches to a minimal so i wouldn't cover up the background and also left them plain since the background is bright.  Love that the fairy wings are translucent for the whole there but not there look.  Final touches was added doddling.

until next time Drop Dead Divas!

Friday, 9 October 2015

Top Hats & Moustaches

Just finished Top Hats & Moustaches Challenge over at SanDee`s Amelie`s Steampunk Challenge. 
Now anyone who has every read anything of my blog (I know someone out there is reading right?) I love STEAMPUNK!!! FUN, FUnkY, IndUStRiaL, GrunGY,MECHAnicAL  all my favorites.  Here is my take step by step.
added paint spots with distress paint onto splat mat.

then i dragged a palette knife through and spirtz with water


dragged a size 10 tag through and heat set dry.
Once it was dry i sanded and inked with vintage photo distress ink


I used ray stencil and applied translucent embossing paste.  Once it was dry i inked in between the rays with walnut distress ink and wiped off the excess from translucent rays.


This is one of my chipboard designs (soon to be on my etsy store for sale just got them in and still need to put up on my store site), i painted with black soot distress ink and allowed to dry.  Once completely dry i sanded and ink exposed chipboard with vintage photo distress ink.  I layered paper underneath of a world map.


I stamped my image with statz on black ink, and outlined inside and outside with white gel pen.  Underneath is emphmera underneath with more top hats.


The final project with all the fun embellishments.  All the work for the background tag and most of it is covered but thats what happens sometimes.  HATS OFF!
Enjoy.

Monday, 28 September 2015

Mustang Sally

I have been working on a painting of our wedding, this is one of my favorites.  Its all about the car the wedding party is mingling in the back.  I cheat a little or use a tool how every you want to look at it.  I grid a print out of the picture then grid the canvas this way everything is in proportion, if things are out it will push me over the edge.  This canvas is 3' x 4' so drawing on the grid was a task in itself but the rewards are worth it.

I knew the car had to be right, my husband is a huge mustang fanatic, like knows the year of mustang based on the headlights.  And i nailed it, so proud i am going to brag.

Next crop weekend I am going to finish the headlights and start the people- i think they will be more challenging than the car.

Saturday, 12 September 2015

A little Inspiration

Here is a little bit of inspiration for the day. I have been working on a new project that showcases my chipboard- view the cover here.  I love love the cover and have started created the pages for inside.  I decided each page needed sewing and pull outs, I am using metals, ephemera and rub ons from my stash.  I had so much "Stash" that I am able to make 4 kits, yes i know sad.

When i start creating a layout, i pull all the elements i want to use.  Then i play with them until i create a layout i am happy with.  Here is when camera phones come in handy, i take a picture then i can pull everything apart to ink, distress, paint etc..  Then i can use the photo to put the layout back together.


The REVEAL!  I added texture with paint and stencil then doodled around, covered the pockets and added tags inside.  Painted, sanded and inked chipboard, then finished with washi tape.  I sewed the finished layout onto album page.

Now only 8 more paged to go.

Monday, 24 August 2015

NEW KIT!!

I am working on a new kit that's all about showcasing my chipboard now for sale on etsy- BoozyBear.  So far i only have the cover completed but man i am so happy with it.  Sometimes you have an idea but no matter how hard you try you can't make it come to life, then sometimes magic happens and the idea comes to life and more.  This time mAGiC!  So far i have used a couple pieces

I used the chipboard pieces I am most excited about- the clusters.

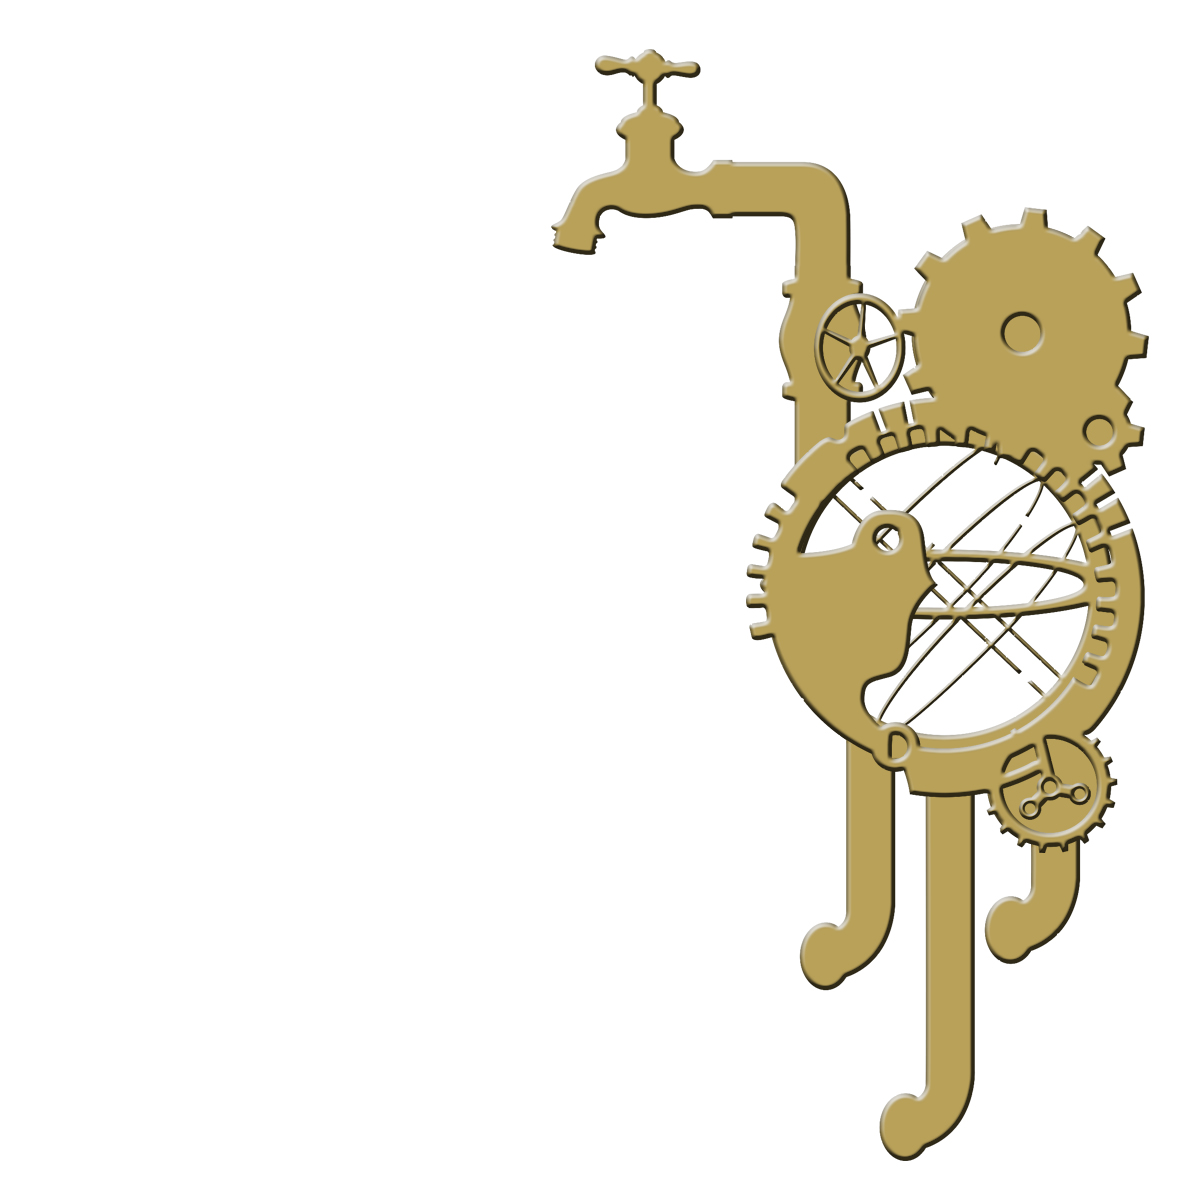
Gearworks


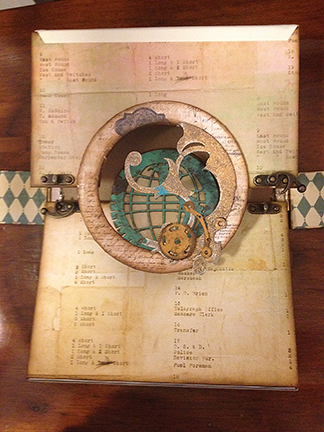
Worldcompass, with an alteration, I added a circle frame


Now for the front cover.
the front has two closure methods, over the sides and across top is what i have called a seat belt with a magnetic snap.  On the top is gearworks chipboard, the bottom piece is painted with victorian velvet distress paint.  I like to paint, allow to dry, then sand and ink.  The ink soaks into chipboard where it has been sanded but not into the paint, the final look is super vintage.  The top chipboard layer is embossed with distress aged taupe embossing enamel from Stampendous.  I love this embossing enamel it melts into all different shades of metallic taupe and the final look is of aged antique.

I messed up on the top when i attached to sides, so i am still trying to figure out how to hide the mistake without it looking like i am hiding a mistake.
 Here is the view from the side.  I wanted the whole thing to look like a old secret society book, something out of National Treasure or The Mummy.  So far so good.


Next seat belt is open, now world compass with metal closure on either side.  Circle frame is wrapped in pattern paper and inked on the outside.  Inside world frame and outside gears are painted with distress paint, sanded and inked.  Top accent piece is melted with aged taupe embossing enamel.


 Next more fun , the metal latches open world compass is on the bottom half for front cover but circle frame and accent are on the top half of front cover.

Super Fun, magnetic clasps, latches, flips and seat belt that's a lot of work to get into the album.  That makes its the super secret book, not the books name still working on that.

This is going to be a kit I plan to sell at Treasured Memories in Edmonton, the kit will include chipboard, paper, metal accents, and embellishments.  I will sell the digital instruction kit on my etsy store- BoozyBear, and all the chipboard used is also sold there.  If you would like to purchase the whole kit please message me, if there is enough interest i can make some more kits.  A deposit will be required.

Until next time...


Thursday, 20 August 2015

MORE funky chipboard

Added some more funky chipboard to my etsy store today, check it out!!!  These ones are all about texture and grunge.


this one is the best!

Tuesday, 18 August 2015

Funky Chipboard

it has been a busy summer but i have been productive.  Now available on my etsy store (Boozy Bear) is funky steampunk chipboard.  Goggle on over and check it out. I have designed some of them to have multiple items clustered together with a dimension layer on top.   Next i will scrapbooking with them to really show off their potential.  Here are my favorites!!