So i haven't worked on any pages in awhile and here is the reason
Meet Finn the newest member of our family, he is a two month old corgi who doesn't sleep through the night. That means i don't sleep through the night, so not much is getting done after dinner time. No sleep and potty training make for a tired momma.
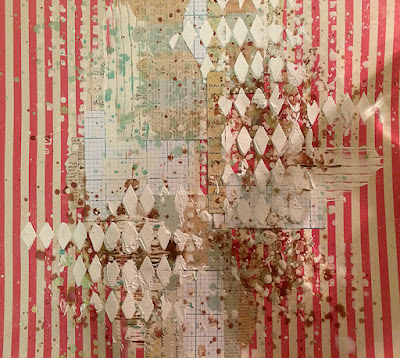
I am working on a new kit using Fortune Teller paper pack from 7 dots- LOVE 7 Dots Studio. They have FAB paper distress, grunge muted colors all my favorites. I am really excited about this new kits, but right now i am cutting paper elements, designed new chipboard and trying some thing new- Custom stencils. Once all the designing, cutting and prep is done the creativity can begin. I can tell you its includes, tea stained paper, faux leather, mixed media, journalling, and watercolors.
Stay tune.
Saturday, 22 October 2016
Thursday, 13 October 2016
Autumn Day
Completed another challenge for anything but cute- this month's theme is An Autumn Day. Now this is what we woke up to on Thanksgiving morning October 9
Yep thats a lot of snow now some of it has melted but there is still snow on the ground- and apparently there is more on the way. Welcome to Northern Alberta Ladies.
This page is all about splatter splatter and more splatter. I used orange, greens and pinks.
I started by layering pattern paper together for a background.
Next I tucked edges I cut with my silhouette into the paper layers.
I mixed poinsetta red gold magical with modeling paste, applied through a stencil along edges and jutted out onto main page.
Next i mixed autumn maple crimson with water and splattered onto page along texture.
I repeated steps with red hot poker orange, and rusty lantern lime until satisfied with the color combination. Next sprinkle shabby white embossing enamel along edge. Heat from bottom so it doesn't blow off the page.
Add photo clusters made with paper blocks, pre cut elements and paper texture. Before I added the photo cluster I splattered black acrylic paint along edges.
Painted some chipboard pieces with antique white acrylic paint and glued onto layout.
Added color onto photo cluster with magicals.
Add some thread- I like how it has a organic feel.
Had a happy moment today when i opened Anything but Cute blog to see i received runner up for last months challenge- Friendship for this layout. Thank you ladies.
Moved up a followers: 46 and counting.
Wednesday, 5 October 2016
Magical Fantasy
The monthly challenge at Mixed Media World is Magical/ Fantasy I got this one done just in the nick of time. The final product didn't end of where i thought it would be sometimes that is a good thing.
Here we go...
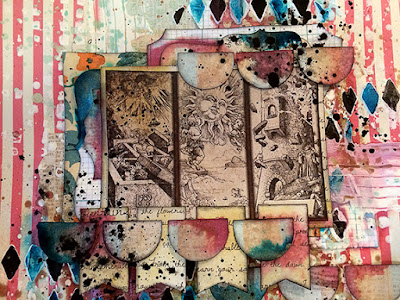
I wanted it to look like a fairy circus, its got lots of texture, lots of layers, and lots of different mixed media products.
Products
Lindy's magicals
White Gesso
Acrylic Paint
Embossing Enamel
Alchemy Paints
Lindy's Moon Shadow Mist
Archival Ink
Distress Ink
I started with layers blocks of pattern paper onto background, also layered some pre cut plaques.
Next i brushed on white gesso through a stencil, then swipes some large chunk gesso with a palette knife. To add some more texture to gesso, i ran a plastic comb through large chunks of gesso.
Next splatter on white gesso, then pink color spray. (Lindy's Bucket of Blood Red)
Dry.
Mix blue gold opal alchemy paint with water and splatter on. Mixed white acrylic paint with white gesso and applied through harlequin stencil.
Painted the harlequin with black acrylic paint, and Lindy's shabby turbine teal mixed with water. Now i wanted some larger blocks of color, so I mixed Lindy's Autumn maple crimson with water and blotting around harlequin pattern.
Its not in the picture but i also added some random stamping on background.
Made my photo cluster, pattern paper blocks and some pre cut banners and plaques. Ink around pre cut shapes.
I added some more color (same colors as background) along pre cut elements with a paint brush.
Splatter some black acrylic paint.
I added some final touches with embossing powder along corner, I sprinkled on the embossing powder then heat from the bottom so the heat gun doesn't blow away enamel.
I made a nest/ mess with the twine black and white and arranged around the photo cluster. Tucked in some pre cut texture pattern paper in between photo cluster layers.
I really like how all the splatter looks like sparkles and lighting flies. Looks very magical and fairy like.
Painted chipboard wings and acrylic paint, and while it was still wet sprinkled on embossing enamel so it sticks onto the wings. The chipboard is to thick to heat from the underneath.
Some Close ups.
Enjoy!
See ya next time.
Subscribe to:
Comments (Atom)


