So last week I showed you how i painted the background canvas for this piece
Now for how i created the balloon.
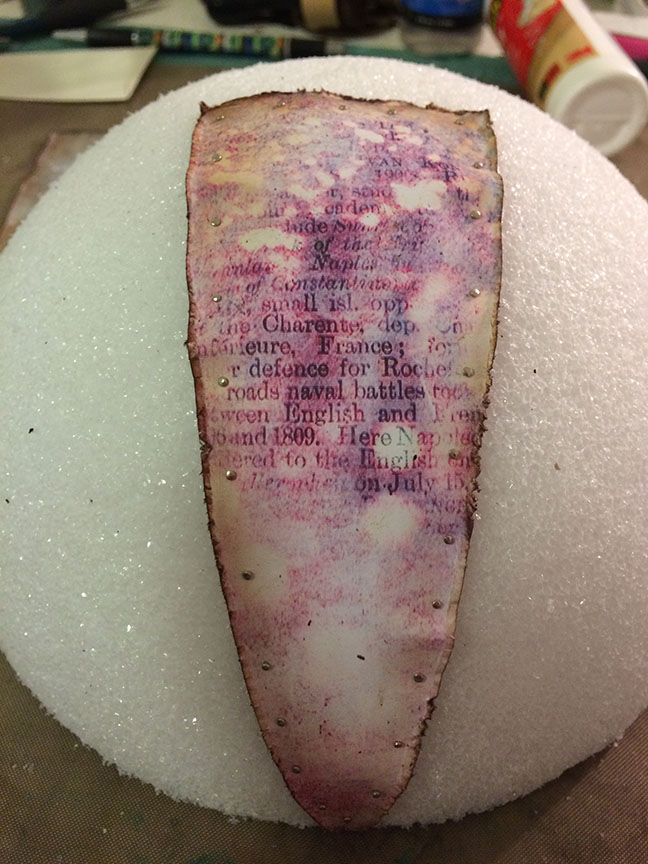
I started with a 8" styrofoam ball cut in half. Now here is a random fact about me- i took one year of fashion design and learned how to make clothing patterns. So to make the pattern I used a scrap piece of paper and pinned onto ball. Start at the center and pin toward top, pin so paper lays flat. You will get a triangle shape, I wish i had taken a picture.
Distress and ink edges, pin along edges. I used flat head pins, looks like nails.
Pin on the top piece.
Cover entire ball. The distress edges are great for hiding imperfections in cutting and construction.
I made the airship with chipboard, first i drew out a pattern on scrap paper. I used pictures of airships I found online for inspiration.
I didn't want the airship to be flat so i made chipboard pieces for the bottom and deck in a curved shape.
Here is how the airship looks once glued together, I got carried away the hot glue. The curve can be too sharp or the chipboard will crack and break.
How it looks flat. Cover with pattern paper.
Glue on airship and balloon, now decorate. I actually prefer the construction part- figure out the how to.
Hope this answers your lingering questions.


This is stunning! Thank you for sharing your tutorial with us, I want to make one too! x
ReplyDelete